If you have recently installed a cumulative update on Windows 11, and noticing any issues with it, you can uninstall it easily. Let’s see how to uninstall Windows 11 cumulative update.
Windows 11 has started getting new updates from Microsoft and these updates are released to fix the existing issues and improve overall performance.
Sometimes, you install an update and you notice issues on your computer. If the latest cumulative update that you installed on Windows 11 is bothering you, you can remove it.
There are three methods using which you can uninstall Windows 11 cumulative update.
- Via Control Panel – Most easy and preferred one.
- Manually using cumulative update using Command Prompt – This is for advanced users.
- Via Windows 11 Recovery options – This is useful when you are unable to login to Windows 11 computer.
Out of all the three methods listed above, uninstalling the Windows 11 update via Control Panel seems to be the most easiest one. You can must uninstall the updates only if you notice issues with it.
Every cumulative update that Microsoft releases for Windows 11, the update information will be found on Microsoft Site. For example, if you want to know KB5006746 contains, you can go to Microsoft KB5006746 support topic page.
How to Uninstall Windows 11 Cumulative Update
The following procedure can be followed to remove or uninstall a cumulative update from Windows 11. In the below example, we will remove the following cumulative update – Update for Microsoft Windows (KB5006746).
On your Windows 11 PC, click Start and launch the Control Panel. Open Programs and Features and select View Installed Updates.
You can use the shortcut command appwiz.cpl to load Programs and Features. The view updates window should now list all the updates installed on your Windows 11 computer.
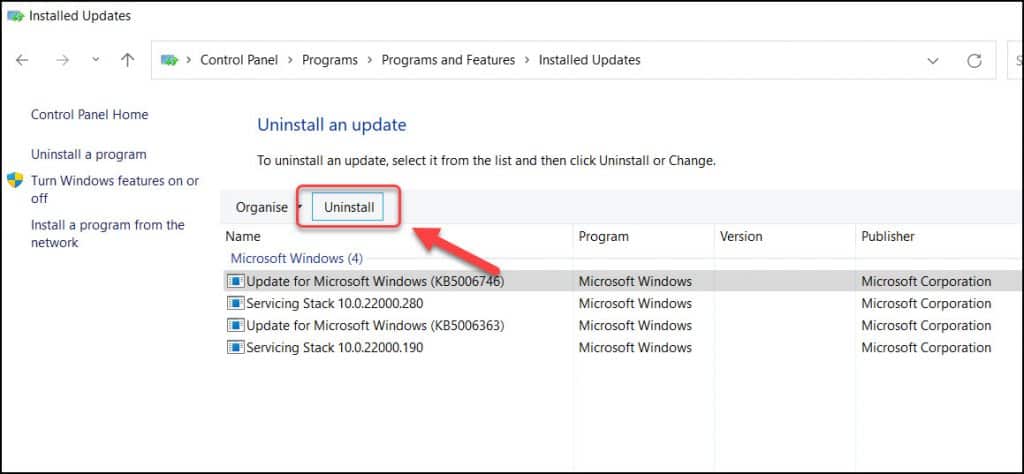
From the list of installed updates, select the cumulative update that you want to uninstall and select the option Uninstall.
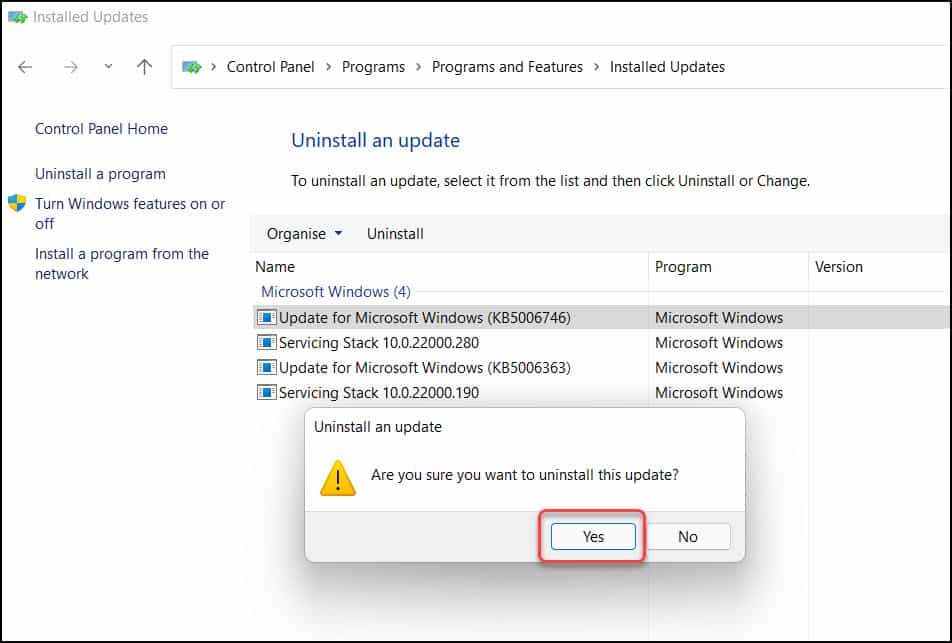
You should immediately see a Uninstall an update box. When asked Are you sure you want to uninstall this update?, select Yes.
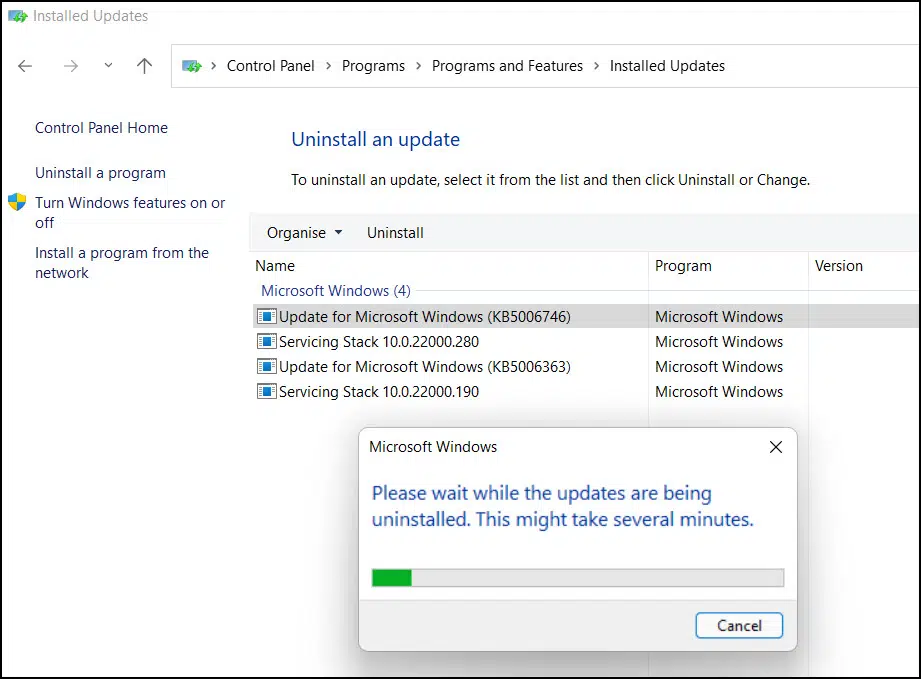
The cumulative update uninstallation begins now. It make may few minutes for the update to uninstall. A smaller update takes less time to uninstall while a cumulative update may take bit extra time.
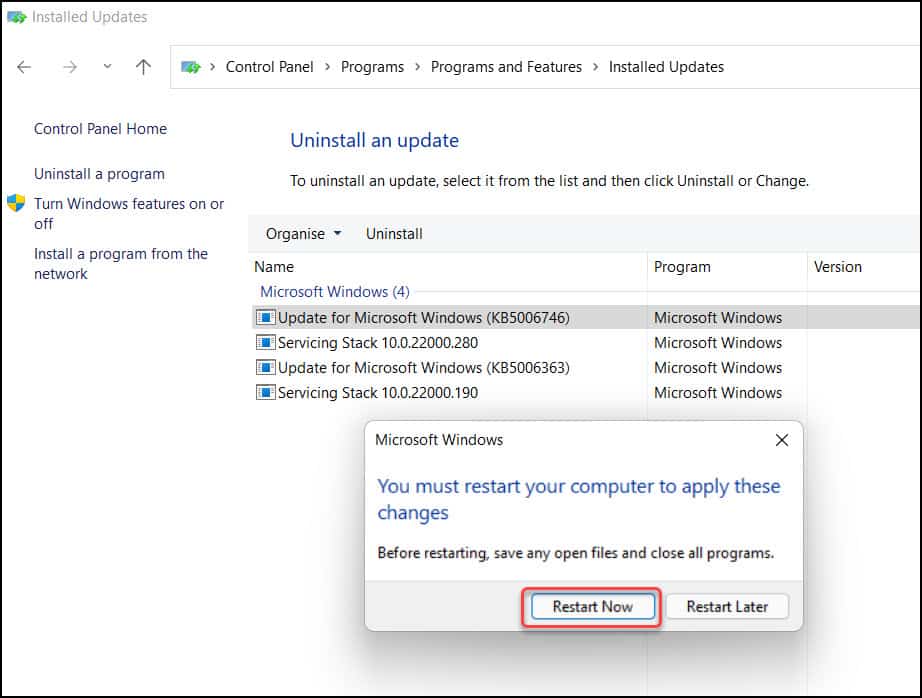
The Windows 11 cumulative update has been removed from your computer. To complete the update uninstallation, you must restart your computer. Click Restart Computer.
The Windows 11 computer restarts now. Log in to Windows 11 computer and go to Control Panel > Programs > Programs and Features > Installed Updates. Now you shouldn’t the find the update that was installed.