How To Install SCCM Client on Windows 11 PC
Let’s learn how to install SCCM client on Windows 11 PC. On Windows 11 computer, you can install SCCM client agent using the Client Push Installation Wizard.
Windows 11 has been released and if you want to manage them using ConfigMgr, you must install the client agents on it. Use Configuration Manager 2107 and above to manage Windows 11 computers.
Configuration Manager supports deploying the client agent on endpoints using different methods. For example, you can also configure the site to automatically use client push for discovered computers.
There are different methods to install SCCM client on Windows 11. The client push method is very simple, easy and most preferred option to deploy ConfigMgr client agents.
You can also manually install the configuration manager agent on Windows 11. However, this method is not suitable when you have a lot of computers that require the client agent.
You can use begin the client push installation by running the Client Push Installation Wizard for a specific collection or resource within a collection. You can create a device collection for Windows 11 in SCCM and then push the client agents on entire device collection. This ensures all the devices within the collection gets the client agents.
Note: Client Push Installation succeeds only if all the prerequisites are met. Read more about client push installation method dependencies.
Install SCCM Client on Windows 11 PC
Use the following steps to install the SCCM client agent on Windows 11 PC.
- Launch the SCCM console.
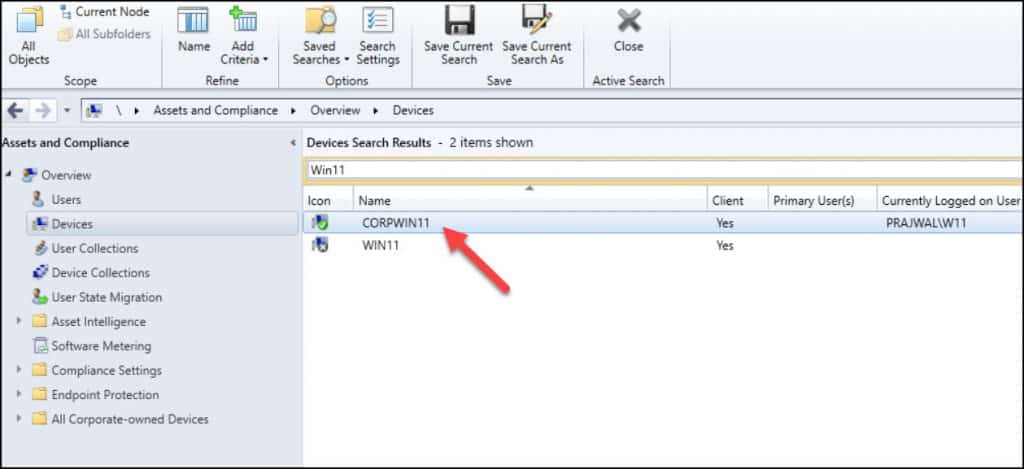
- Go to Assets and Compliance\Overview\Devices.
- Right click Windows 11 device and select Install Client.
- Use the client push installation wizard to deploy the client agent to Windows 11 computer.

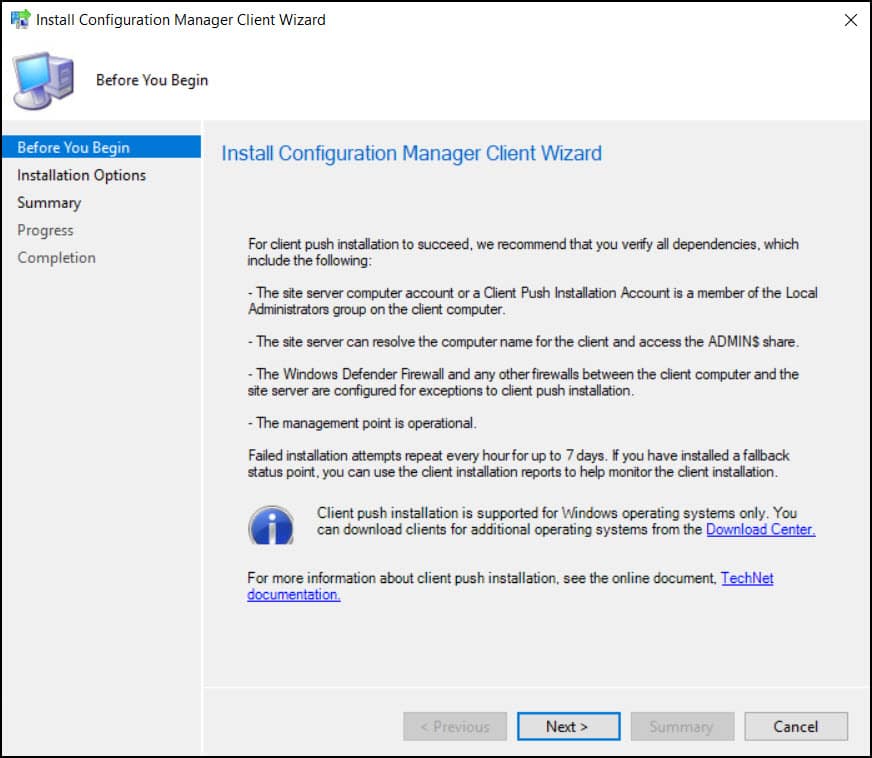
We will use the Client Push Installation Wizard to install the Configuration Manager client on Windows 11. On Before you begin window, click Next.
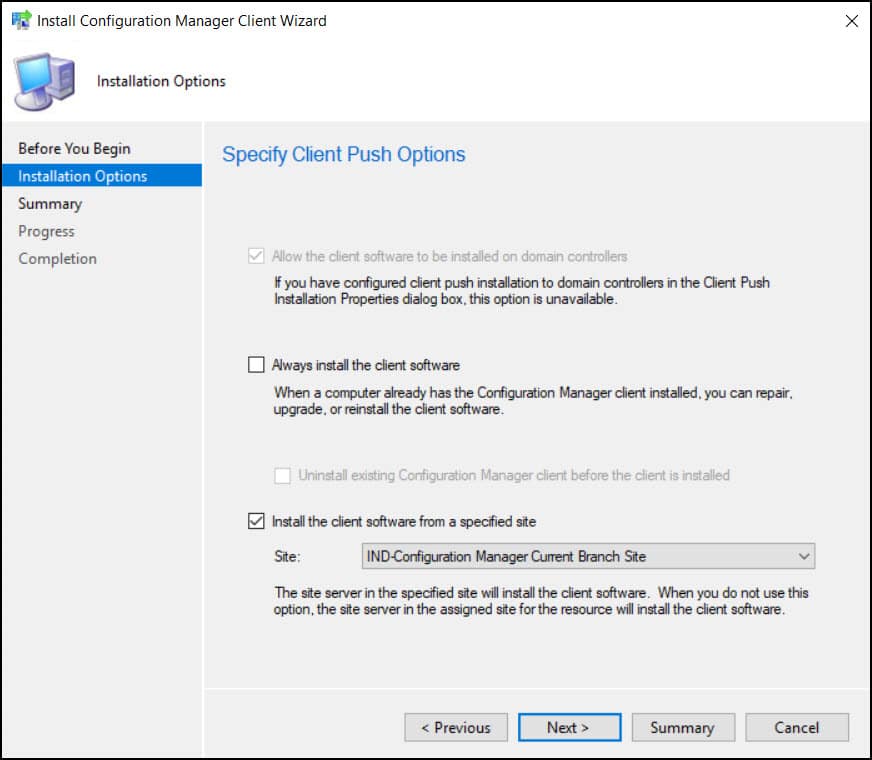
On the Installation Options window, you must specify the client push options. If you have multiple sites, select Install the client software from a specified site and click Next.
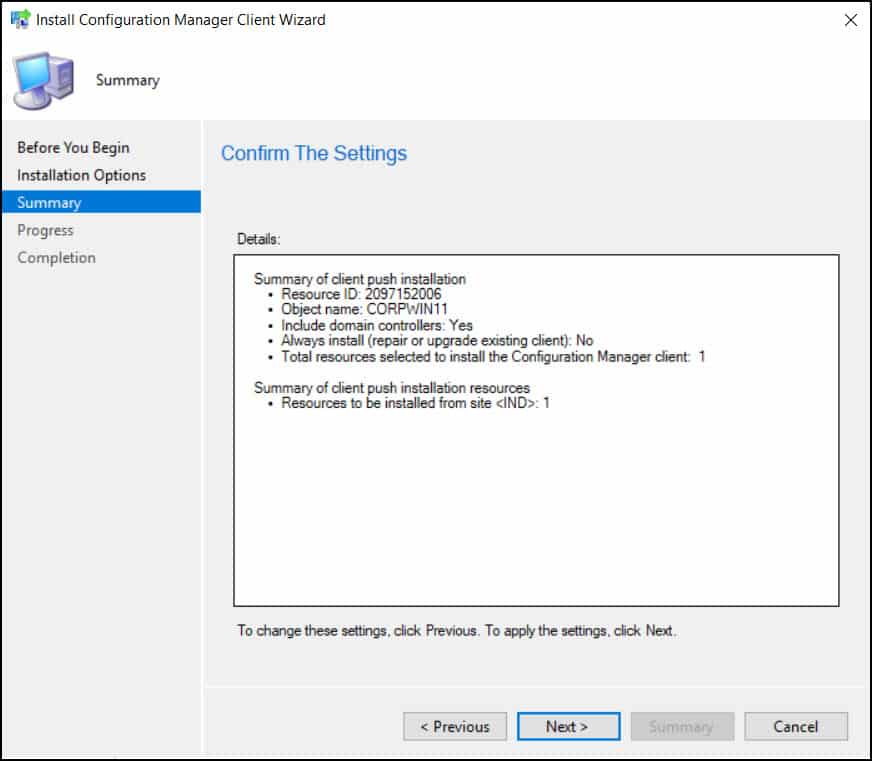
On the Summary window, click Next.
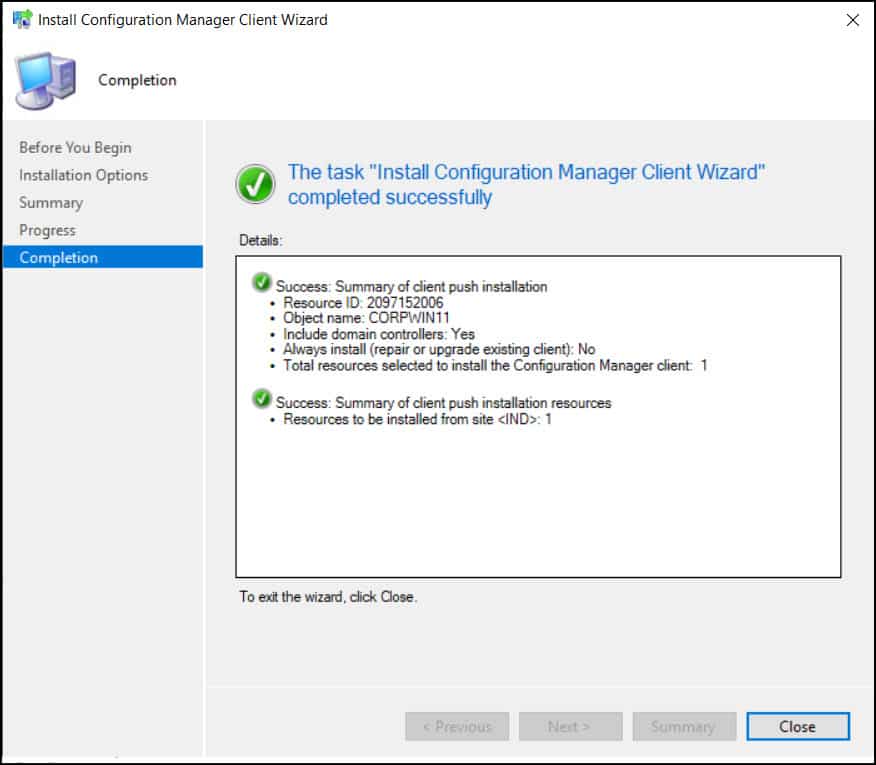
Close the Install Configuration Manager Client wizard. The client agent has been deployed to Windows 11 machine.
When you install the client agent on any Windows computer, you can monitor the client agent installation using the SCCM log files.
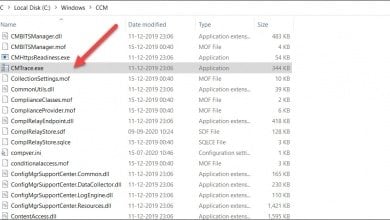
On the Windows 11 computer, client agent log files are located in C:\Windows\ccmsetup\Logs folder. From the logs folder, open the ccmsetup.log file which records the client agent installation process.
If you see the line CcmSetup is exiting with return code 0, it means the client agent has been installed successfully on Windows 11 computer.
Check the Client Agent Installation Status
Finally, let’s check if the ConfigMgr client agent has been running fine on Windows 11 computer. Log in to Windows 11 computer and open Control Panel > Configuration Manager. This launches the Configuration Manager client properties box.
On the General tab, ensure you see the correct management point server name.

Select the Actions tab and make sure you see all the below action cycles. If you just see two action cycles, there could be a problem with client to management point communication.

Finally, in the Configuration Manager console, we see the new Windows 11 PC shows client agent installed and active.